
Publisher Guide: How to Add Your Websites on Era Rank
Premium SEO insights, strategies & guides from Era Rank.
How to add your websites on Era Rank
A step-by-step guide. Add one website in about two minutes, or upload your whole list in an Excel file.
- Open Registered Sites in your account.
- Click Create new Site for one website, or Upload Bulk Sites for many.
- Fill in the website, your prices and its ranking data.
- Click Register website. Your site is saved as Pending.
- Once our team approves it, the status becomes Approved and it can receive orders.
Part 1 — Add one website
Use this when you have a few websites to add.
Open the form
Go to Registered Sites in your account and click the Create new Site button at the top right. The form below opens.
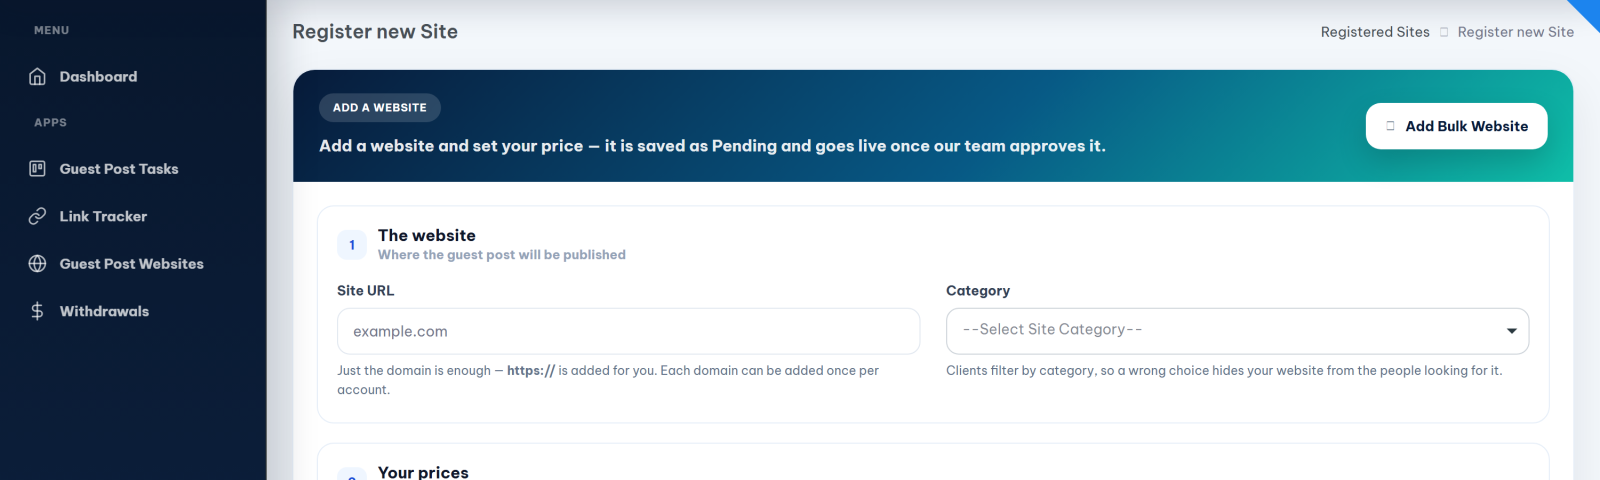
Fill in "The website"
| Site URL | Type your domain, for example example.com. You do not need to type https:// — it is added for you. The same domain can be added only once in your account. |
| Category | Choose the closest one. Clients search by category, so a wrong choice hides your website from the people looking for it. |
Fill in "Your prices"
All prices are in USD.
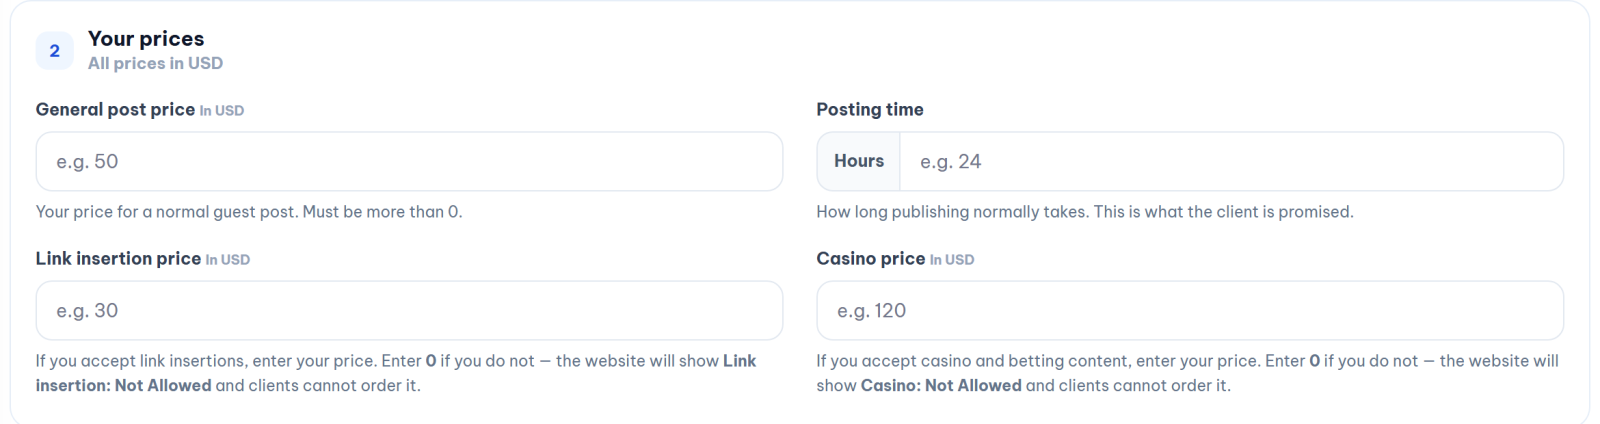
| General post price | Your price for a normal guest post. It must be more than 0. |
| Posting time | How many hours publishing normally takes. This is what the client is promised, so keep it realistic. |
| Link insertion price | Your price for adding a link inside an existing article. |
| Casino price | Your price for casino and betting content. |
Fill in "Ranking data"
| DR | Your Domain Rating. |
| Monthly traffic | Your monthly visitors. |
Click "Register website"
Your website is saved with the status Pending and goes live once our team approves it. You will see it in your Registered Sites list straight away.
Part 2 — Add many websites at once
Use this when you keep your websites in a spreadsheet.
Open the upload page
Click Upload Bulk Sites on the Registered Sites page, or Add Bulk Website on the Create new Site form. The page is called Excel Upload Instructions.
Download your current file
Click Download Current Websites Excel. This file already has your websites and the correct columns, so you never have to build a sheet yourself.
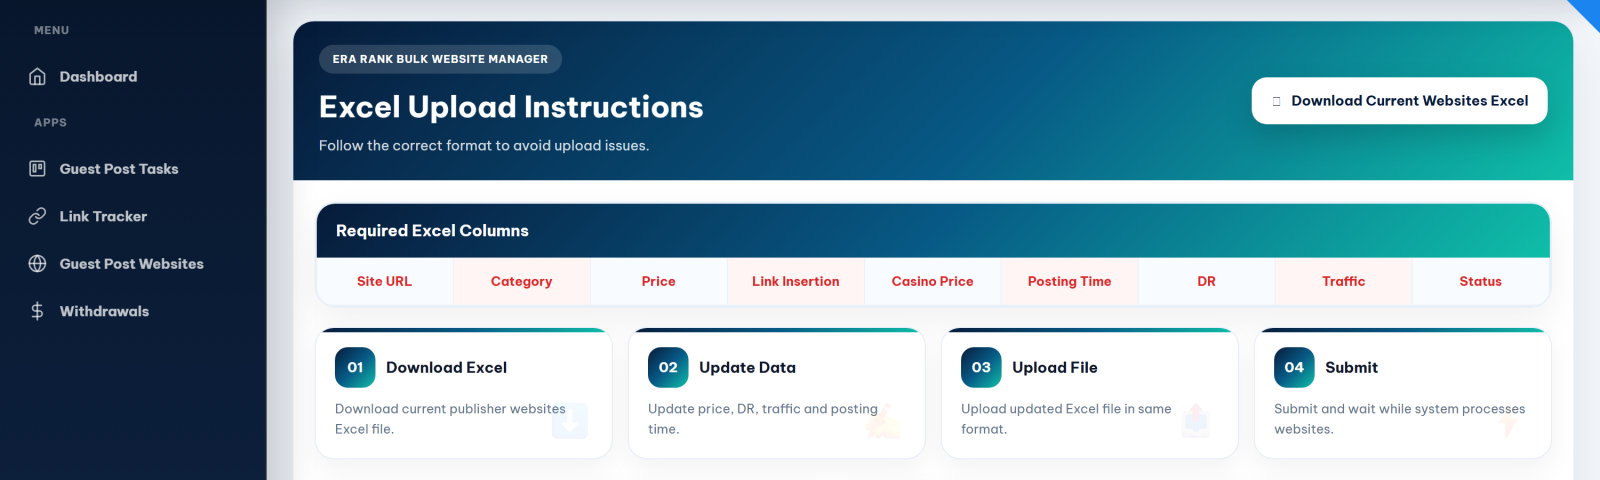
Update the file
Change the prices, DR, traffic and posting time you want to update. Then follow these four rules.
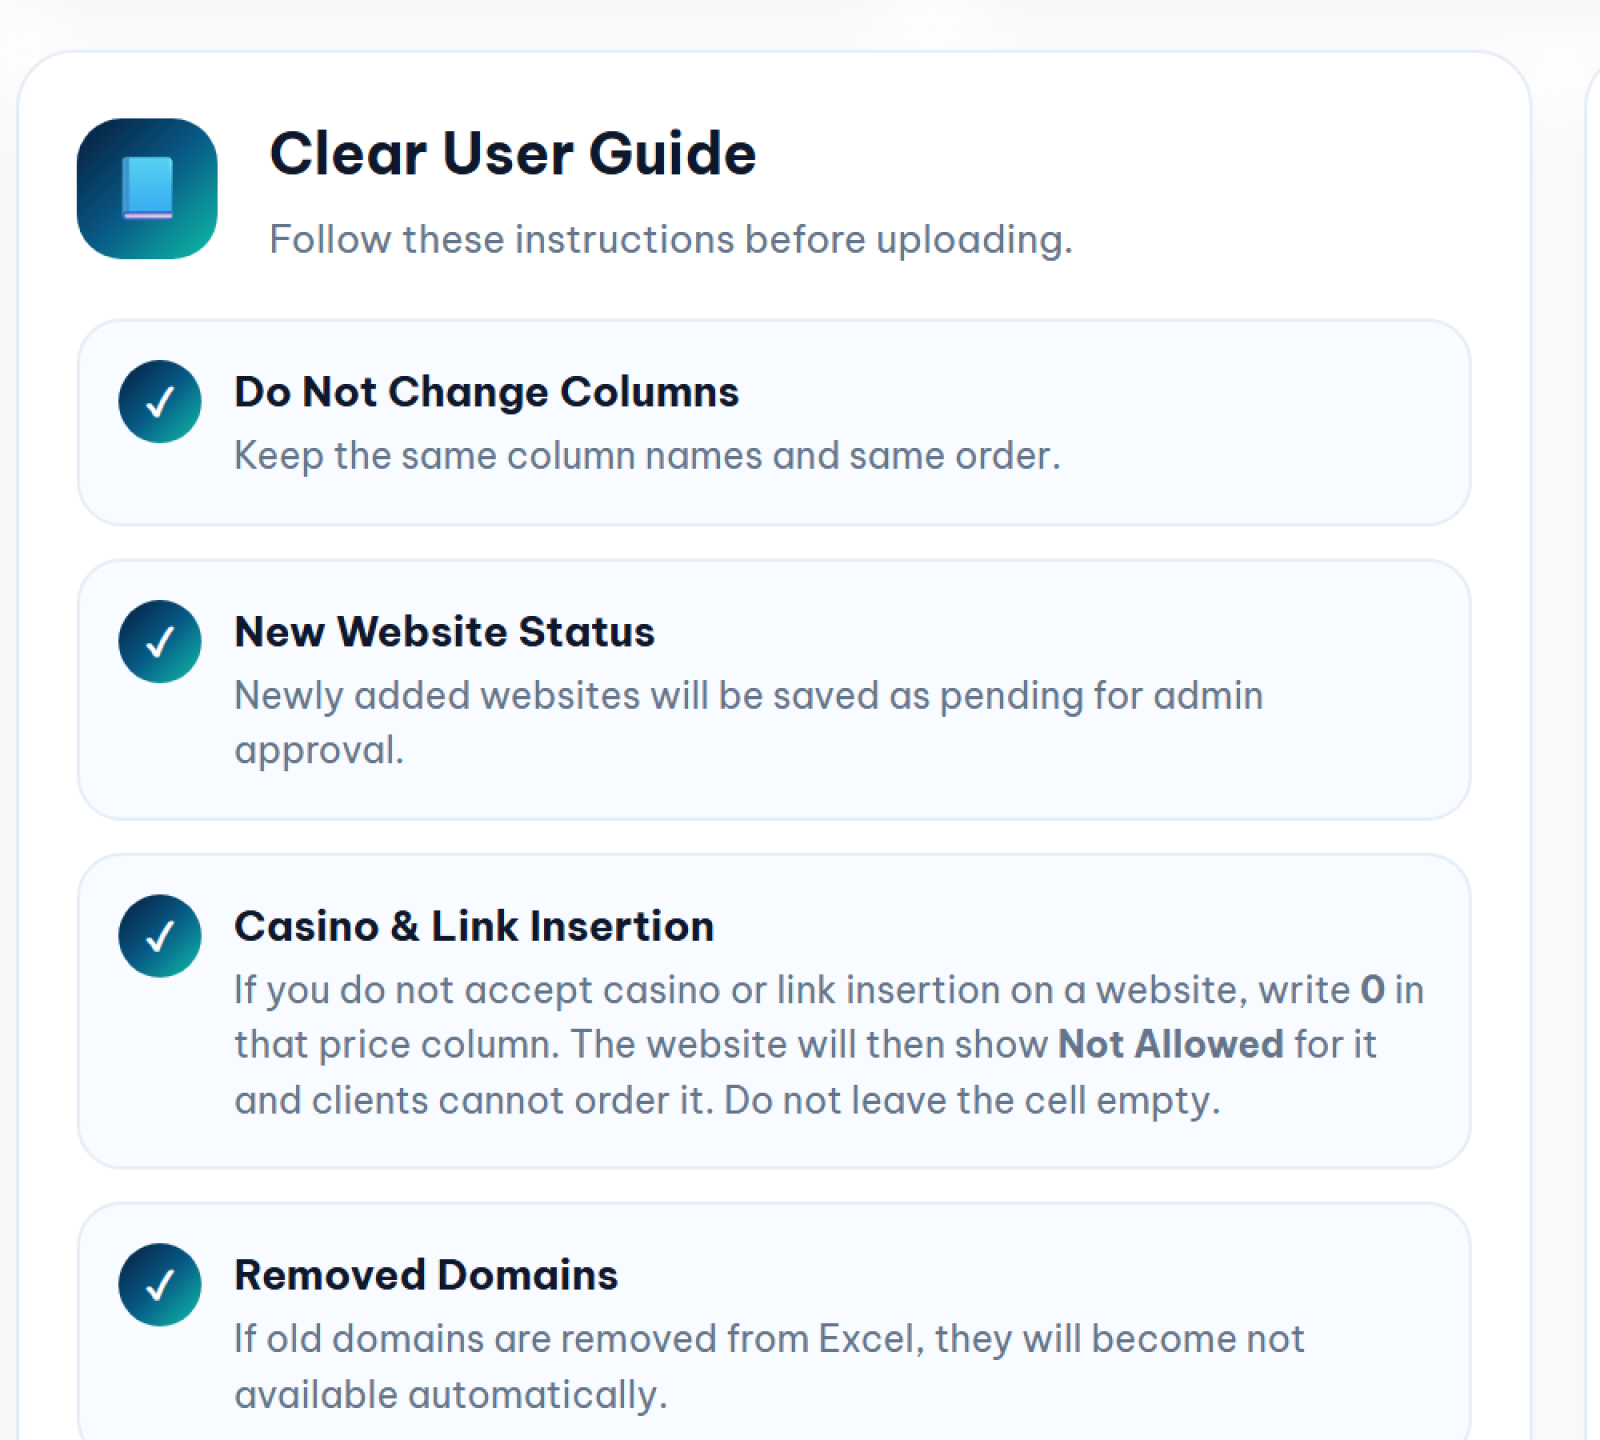
- Do Not Change Columns. Keep the same column names and same order.
- New Website Status. Newly added websites are saved as pending for admin approval.
- Casino & Link Insertion. If you do not accept casino or link insertion on a website, write 0 in that price column. Do not leave the cell empty.
- Removed Domains. If old domains are removed from the Excel file, they become not available automatically.
Upload and submit
Under Choose Excel File, select your updated file (.xlsx, .xls or .csv) and click Submit Upload. Wait while the system processes your websites — a large file takes a few moments.
What each status means
| Pending | Waiting for our team to review it. Every new website starts here. |
| Approved | Live on our list. It can now receive orders. |
| Price High | The website is fine, the price is not. Another publisher offers the same website for less, so orders go to them. Lower your price to compete. |
| Re-Submitted | You changed something and sent it back for review. |
| Rejected | Not accepted. Usually quality, ownership, or a website we already carry another way. |
| Not Available | The website was missing from your last Excel upload, so the system assumed you no longer offer it. |
Why some websites get no orders
When a client places an order, our system gives the task to the publisher with the lowest price for that website. So there are usually four reasons:
- Someone else is cheaper on the same website.
- The website is still Pending, or marked Price High, so it is not in the buying list yet.
- The category is wrong, so clients looking for that niche never see it.
- Your posting time is much longer than other publishers offering the same website.